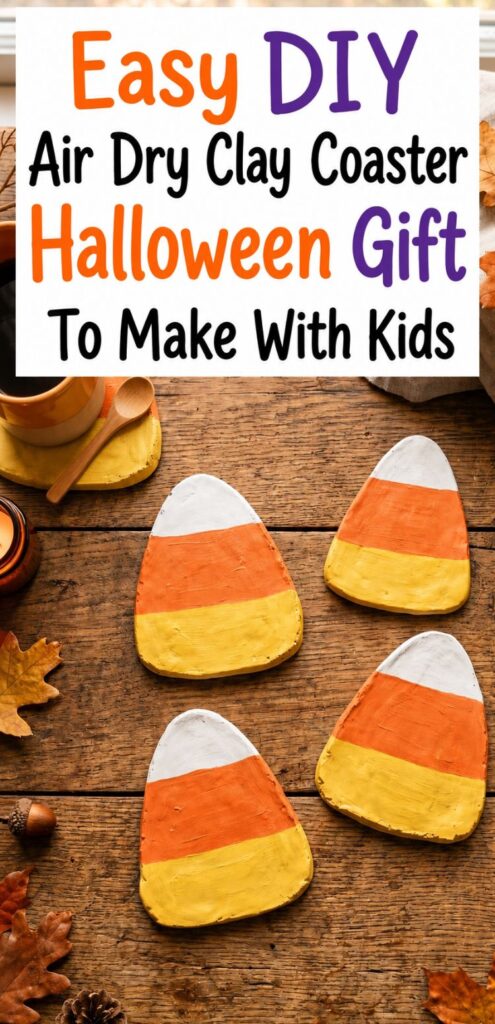
If you want a Halloween craft the kids can actually finish themselves, then thes candy corn clay coasters are one of the easiest places to start. This project turns candy corn’s classic orange, yellow, and white stripes into a coaster set you make together as a family, using nothing more than air dry clay and a rolling pin.
Candy corn colos look so much fun that kids reallly love and grown ups can appreciate too.
No pottery wheel, no kiln, and no painting skills required. Just air dry clay, a rolling pin, and about an hour of hands on time.
If you are up for it you can also add initals to these using a stencil for the alphabets or personalize with a message or Halloween friendly words like boo!
These coasters make the perfect handmade gift for teachers, grandparents, or party favors. And because the color comes from the clay itself rather than getting painted later on, they’re incredibly forgiving for little hands.
If you only have plain white air dry clay on hand then by all means use that. You can still give it a candy corn shape, and dont worry if you have shaky hands I have a tip that will hlep you make sure all of the coasters are same size and shape.
You can paint the white clay with colors, in stripes or even polka dots whatever the kids desire.
P.S: This post contains affiliate links from Amazon and other retailers. If you make a purchase through these links, I will receive a small commission. Pls check Privacy Policy and T&C for more information.)
What You’ll Need o Make These Beginner-Friendly Clay Coasters
- Soft Modeling Air dry clay in white, orange, and yellow (or one block of white clay plus acrylic or clay pigments to tint your own)
- A rolling pin
- A butter knife or clay cutting tool
- Parchment paper
- Gloss clay varnish or sealant
A quick note on clay type: We picked air dry clay for this project because it’s non-toxic and needs no special equipment. It’s also easy for kids to handle from start to finish.
It’s not the only option out there. Polymer clay is another popular choice for coasters and holds up a little more durably over time. But air dry clay is the simplest for a beginner or family project since there’s no baking involved.
Just keep in mind these coasters are decorative and meant for everyday use, like setting down a coffee mug or glass. They’re not for holding food directly or sitting under anything with real heat, like a candle or tea light.
If you want to make coasters, or any clay project, for use near candles or high heat, it’s worth researching materials rated for that specifically. Neither air dry nor oven baked polymer clay is designed to handle that safely.
Step 1: Roll Out Your Clay
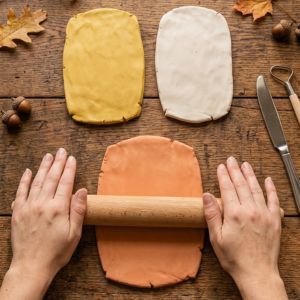
Roll each color of clay into a flat slab, about ¼ inch thick. Keep the slabs roughly the same size so your stripes come out proportional.
Step 2: Layer and Cut the Candy Corn Shape
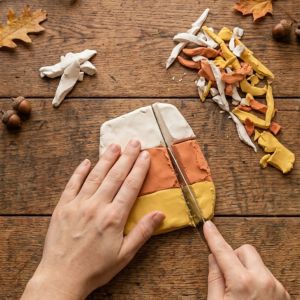
Layer the three colored slabs together: white on top, orange in the middle, and yellow on the bottom.
Gently press them into one piece.
Use a butter knife to trim the edges into a rounded candy corn shape. Kids can do this part with supervision.
If you don’t feel confident cutting the shape freehand, draw a candy corn outline on paper and cut it out. Use this as a stencil.
Lay the stencil on top of the clay and trace around it with your knife. This keeps all your coasters the same size and shape, especially helpful if kids are doing the cutting.
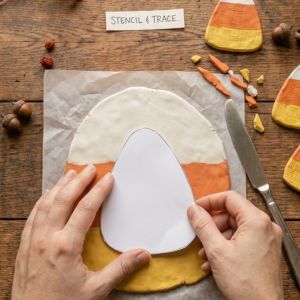
You can also use a cookie cutter stencil that has a candy corn shape, if you happen to have one.
Don’t toss the leftover scraps! The trimmed pieces can be balled up, re-rolled, and layered again to shape more coasters, so almost nothing goes to waste.
Step 3: Let Them Dry
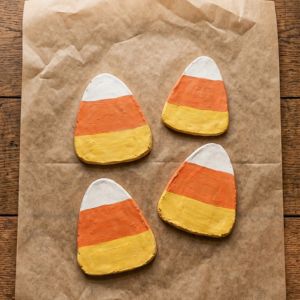
Lay your coasters flat on parchment paper. Make sure the surface underneath is completely flat and level, this keeps them from warping while they dry.
Drying usually takes 24 to 48 hours depending on thickness.
Don’t forget to flip them every few hours so both sides dry evenly.
Step 4: Seal for Durability
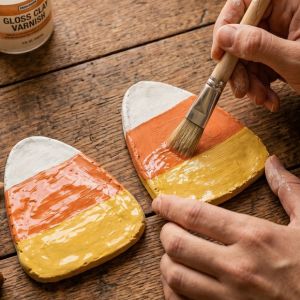
Once fully dry, brush on a coat of gloss varnish. This gives the coasters a polished, glossy finish and adds some water resistance for everyday use.
Just remember, this step is about durability and shine, not making them food-safe.
Gift It
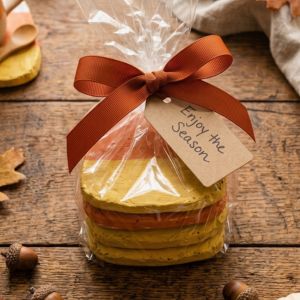
Stack a set of four, tie them with twine or ribbon of your choice, and you’ve got a handmade Halloween gift that costs almost nothing but feels thoughtful.
These are especially sweet made by kids for the people they love like their teacher, day care worker, grandparents, favorite aunt or uncle, etc. A project and a gift in one.
They make an amazing budget-friendly gift too, that seems straight from heart. It’s a great way to get kids involved in making something special for the teacher they see every day.
They’re just as meaningful for grandparents who live far away, or for neighbors you want to surprise with a small handmade treat this season.
***
Also Check Out:
Spooky DIY Halloween Clay Ideas to Make And Gift
100 Creative DIY Food Gifts that Make Gifting Budget- friendly & Fun